
From Hacking WiFi to Automating Home
-ESP32 re-purposed
Reviving the ESP32: From Flipper Zero Companion to Smart Home Controller
I’ve always enjoyed diving deep into wireless signals, and one of my favourite tools has been the Flipper Zero, a very versatile, pocket-sized device that lets you explore, analyze and interact with a variety of protocols like RFID, IR, Bluetooth and sub-GHz frequencies.
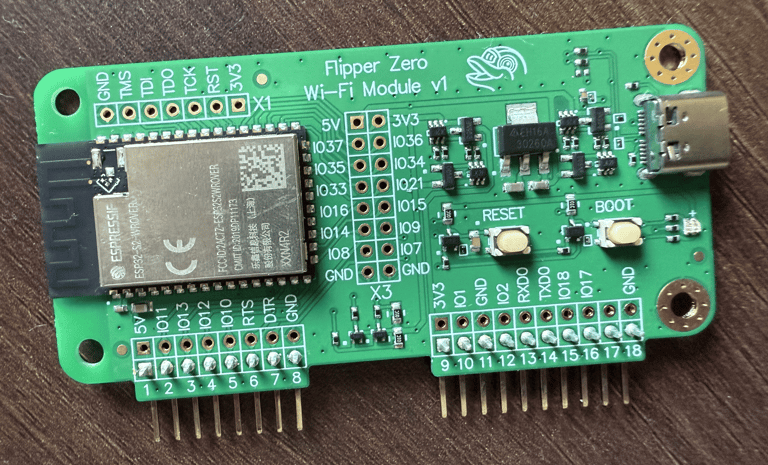
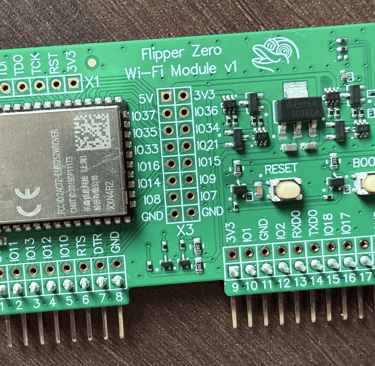
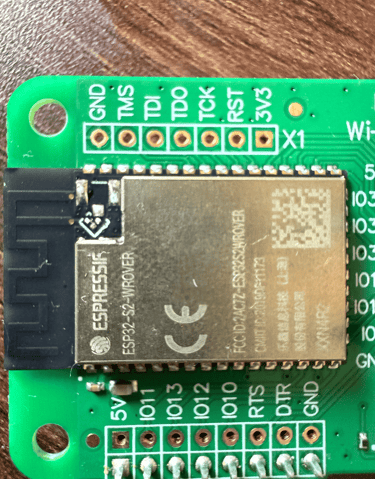
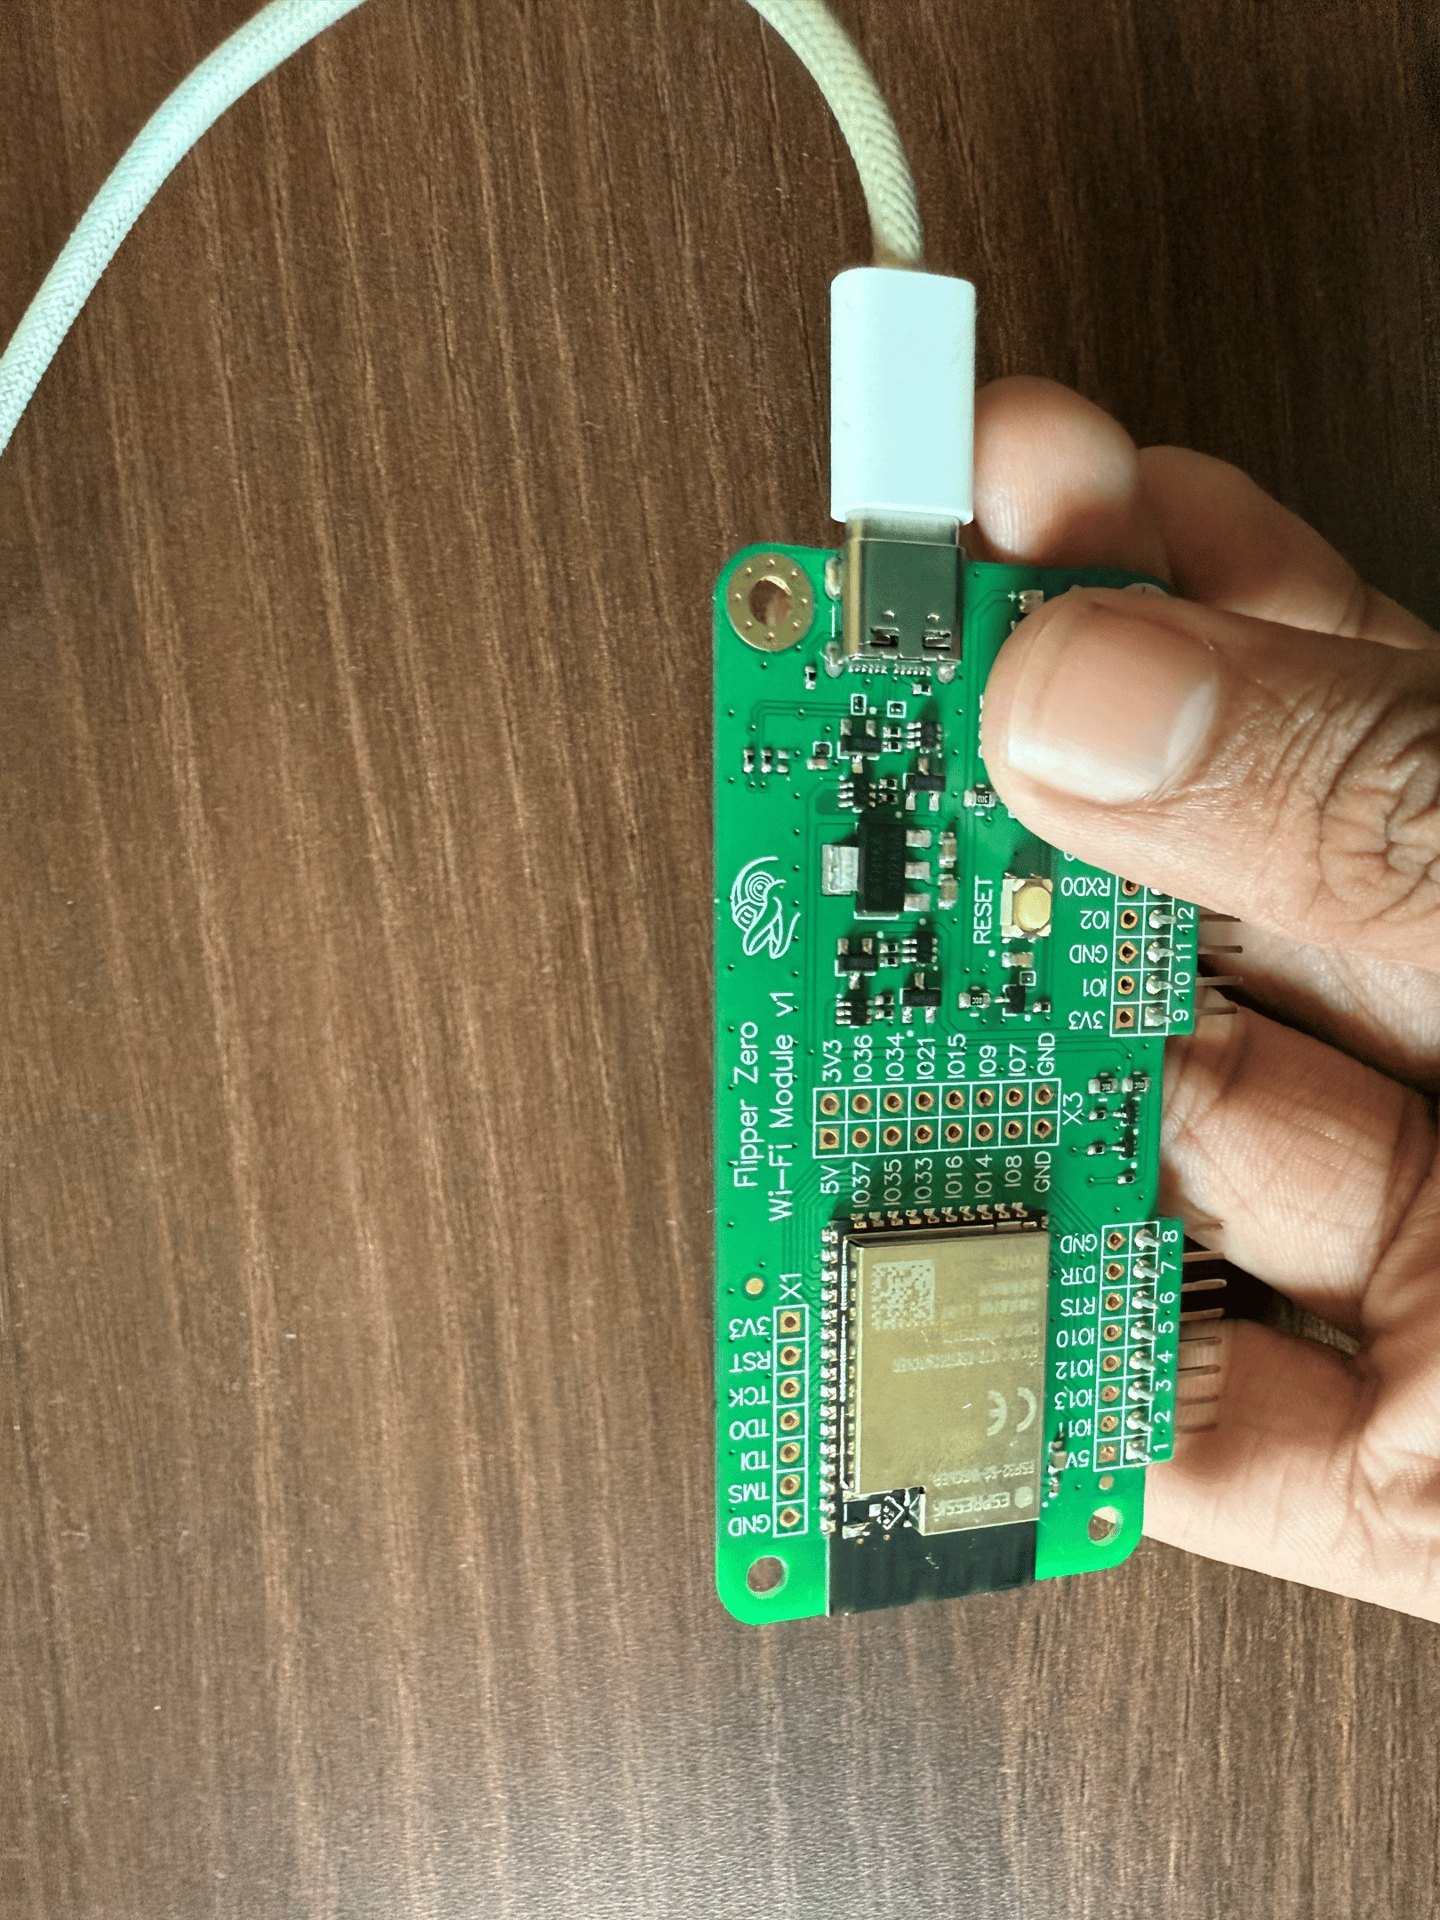
When I first got it, I also picked up the ESP32 Wi-Fi module, an addon board designed primarily to help install firmware over-the-air. It seemed like the perfect extension for someone like me who’s fascinated by communication protocols and signal security.
Initially, I was completely engrossed in understanding how Wi-Fi works at the protocol level, especially the security layers and how networks could be analyzed and tested for vulnerabilities. I installed Marauder firmware on the ESP32 module, a well-known open-source firmware built for Wi-Fi analysis. Getting it up and running was a fantastic learning experience and my past experiencing flashing firmwares on few smart switches and sonoff devices came in handy.
But like many experiments, got bored quickly and I wanted to transform this for a different use-case. After a couple of weeks of tinkering without any meaningful breakthroughs or practical use cases, the ESP32 addon ended up tucked away; that is until a new wave of curiosity hit me.
Recently, I’ve been working on several IoT-based home automation projects. I started integrating smart systems into my room, from controlling LED strips to automating fans and sensors. During one of these projects, I decided to give this ESP32 module a second life, this time not as a Wi-Fi hacking tool, but as a smart home controller.
What began as a curiosity about Wi-Fi signals sometime back evolved into something far more practical and rewarding. I went from analyzing wireless vulnerabilities to understanding GPIO pinouts, sensor communication protocols and the firmware ecosystem that makes DIY automation possible. This project not only revived a forgotten piece of hardware but also deepened my understanding about it potential use-cases.
In the end, what I loved most wasn’t just the successful implementation, it was the transformation of purpose. I turned a board that was once used for passive sniffing into an active controller for real-world devices. I learned how to reconfigure firmware, manage device communication and build efficient automation; all while rediscovering the joy of making a concept work from scratch.
I’m someone who doesn’t give up on tools or ideas, I repurpose them, reimagine them and build something new. And often, that's where the real learning begins..!
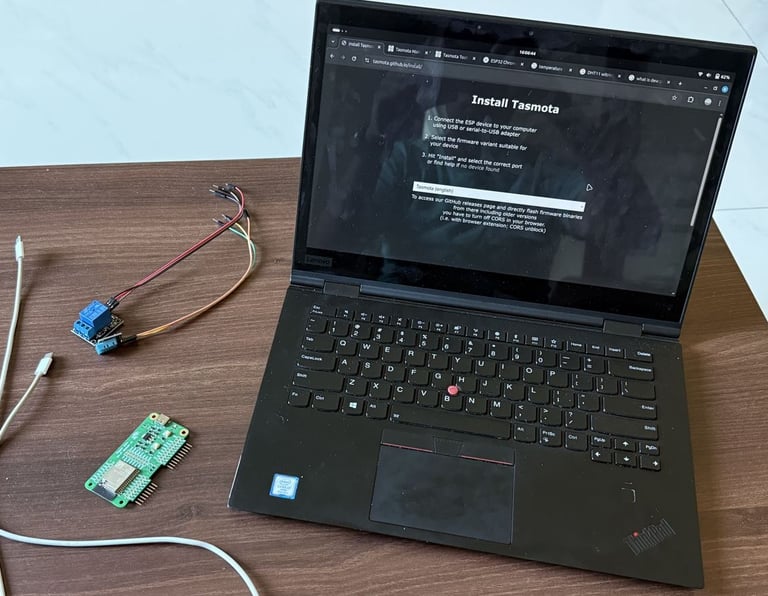
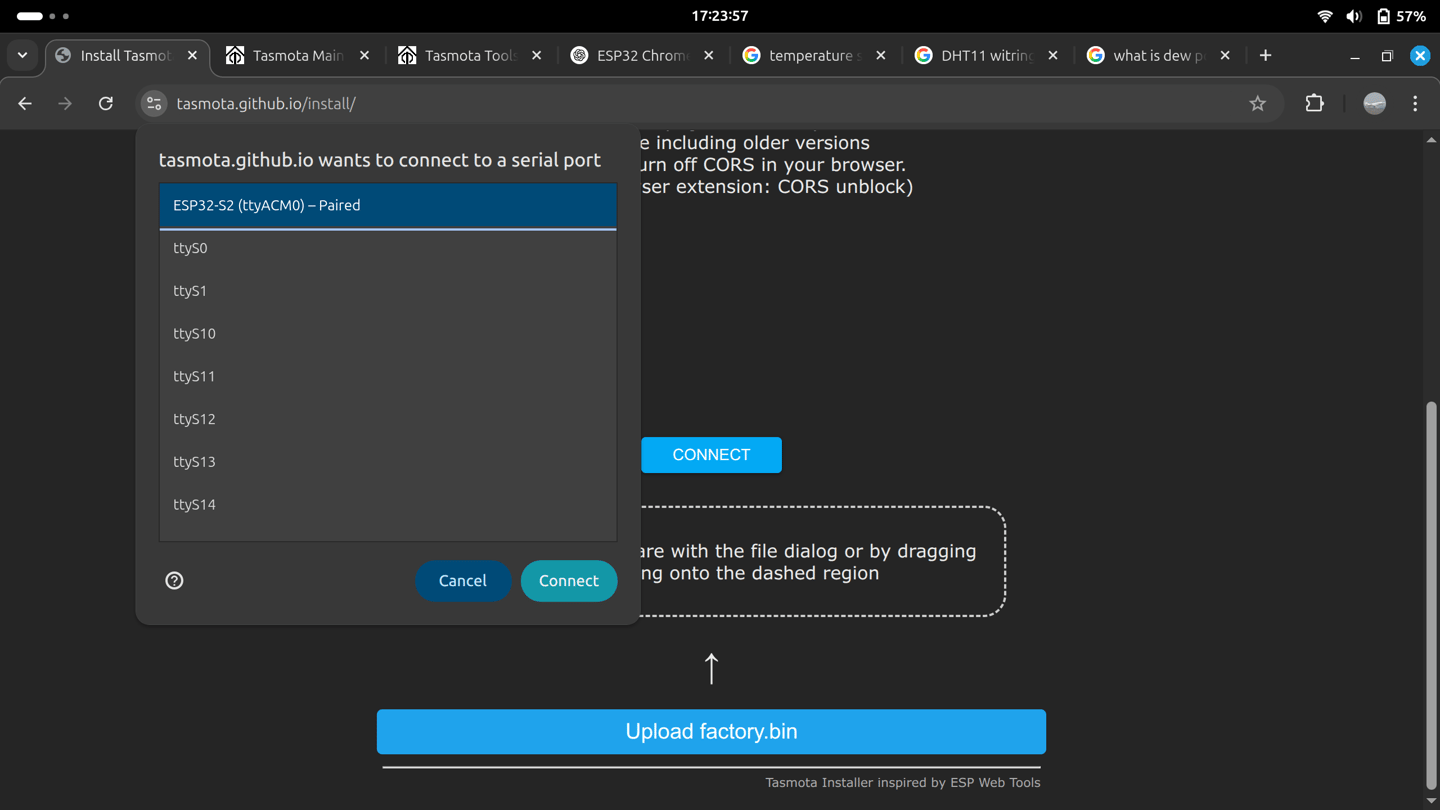
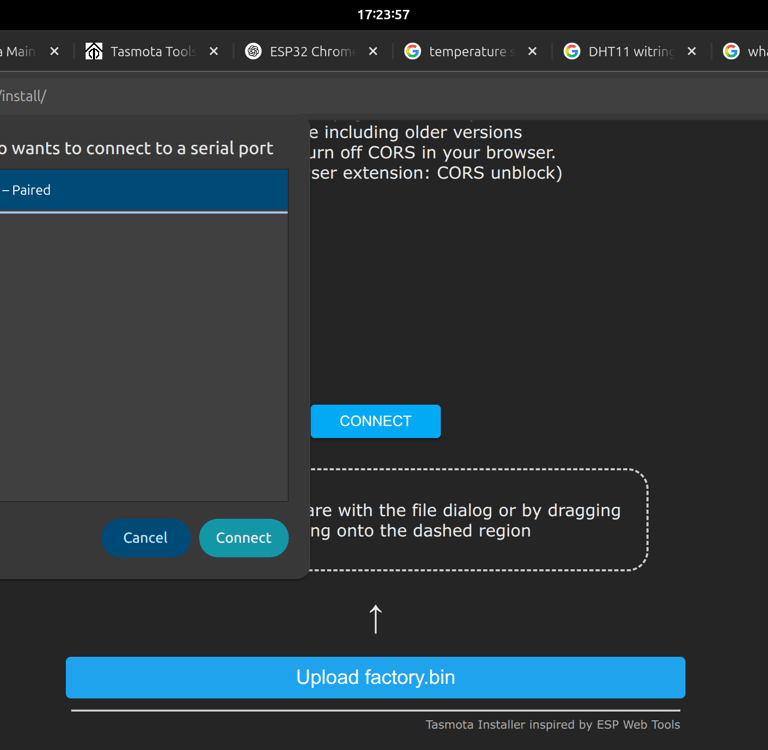
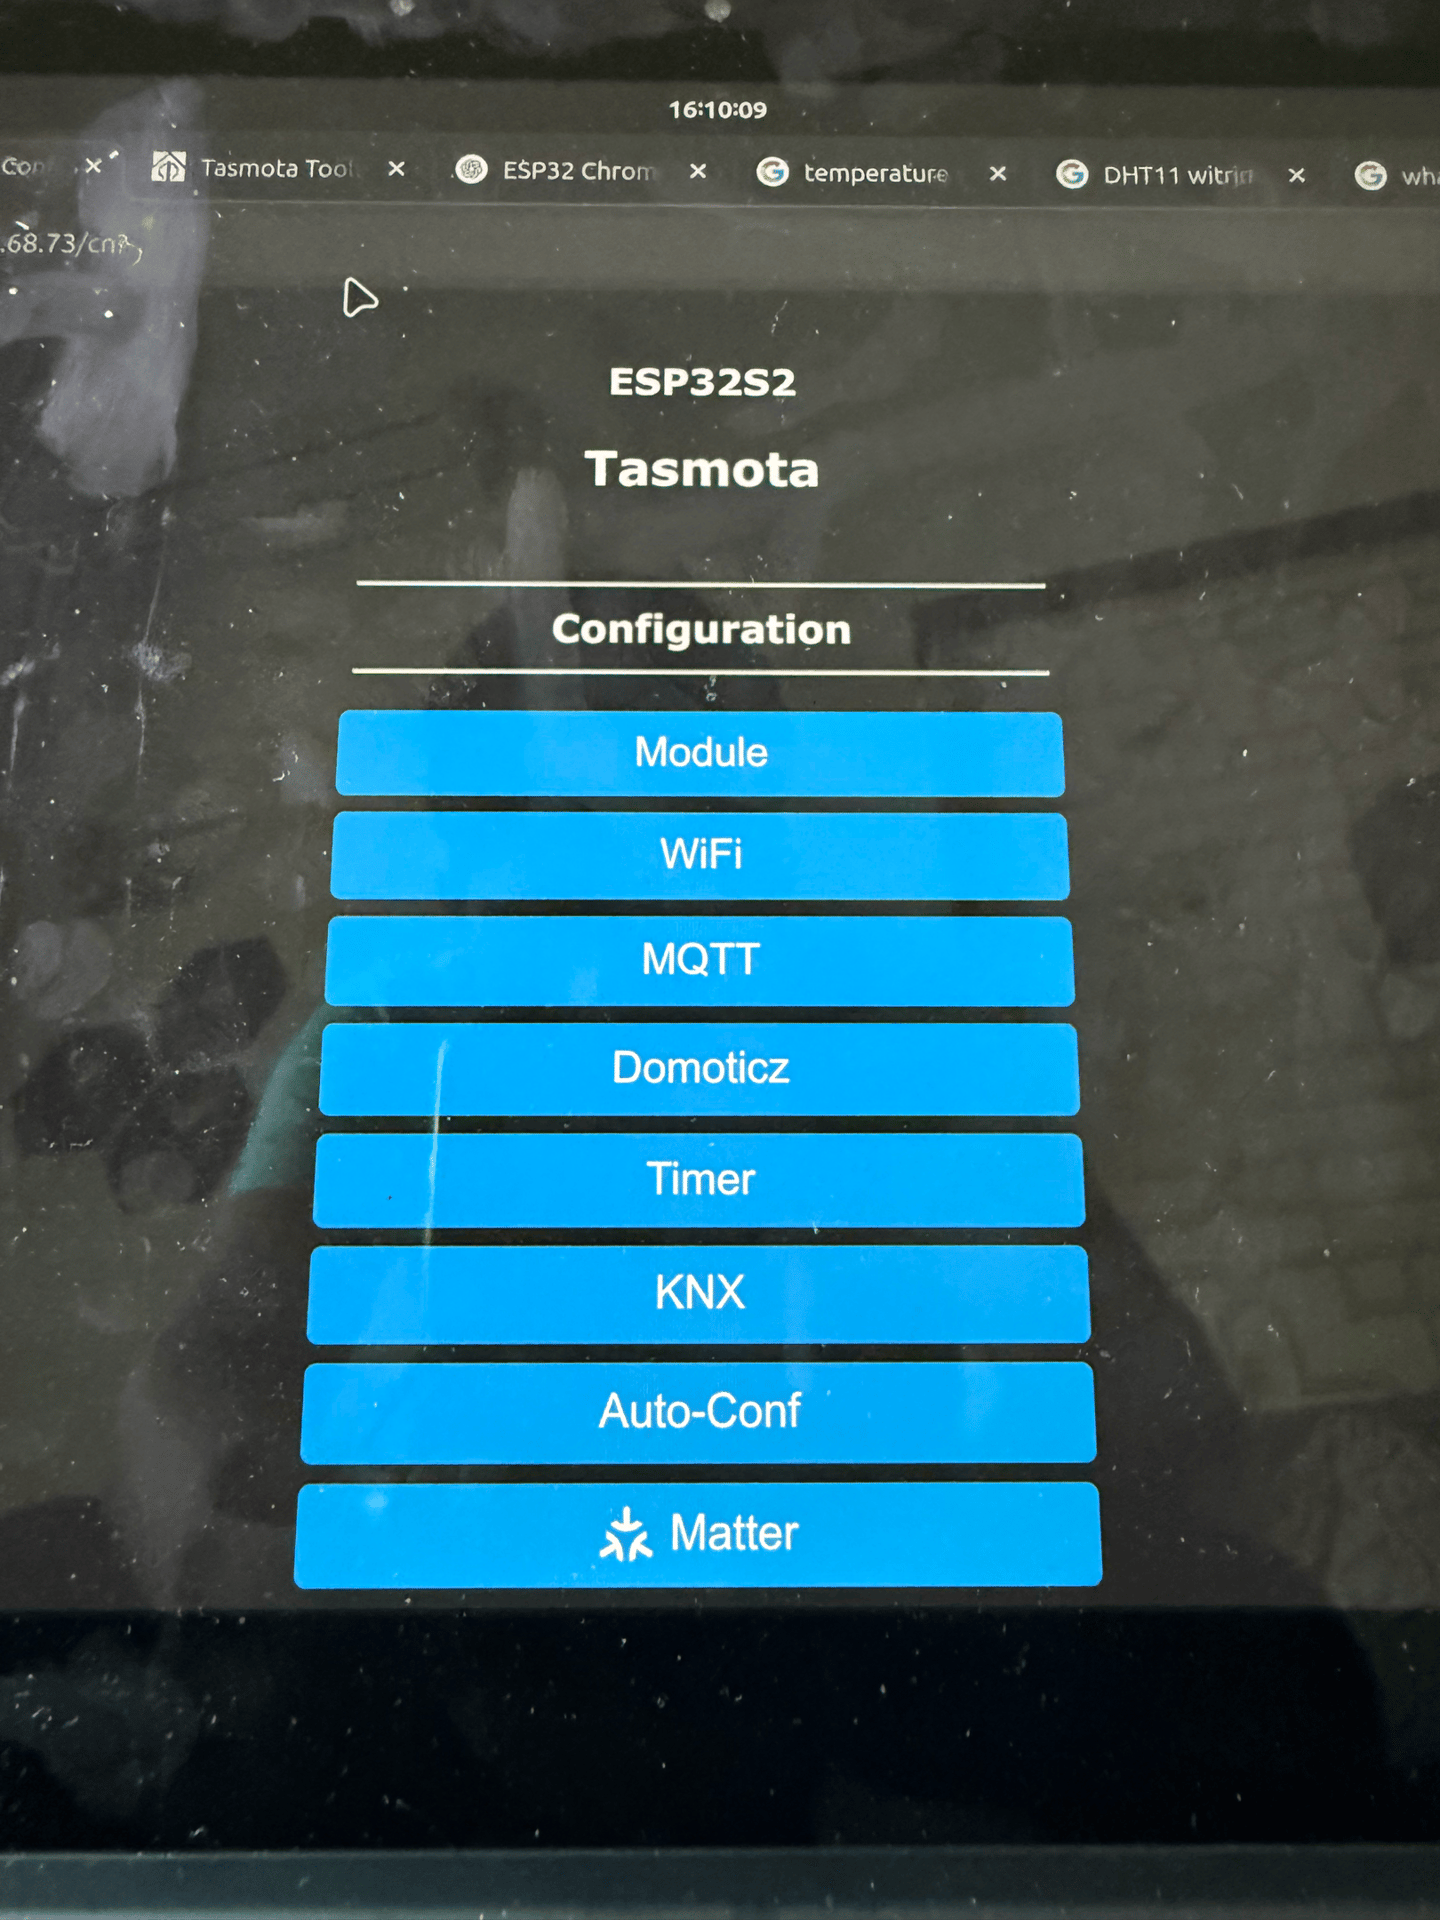
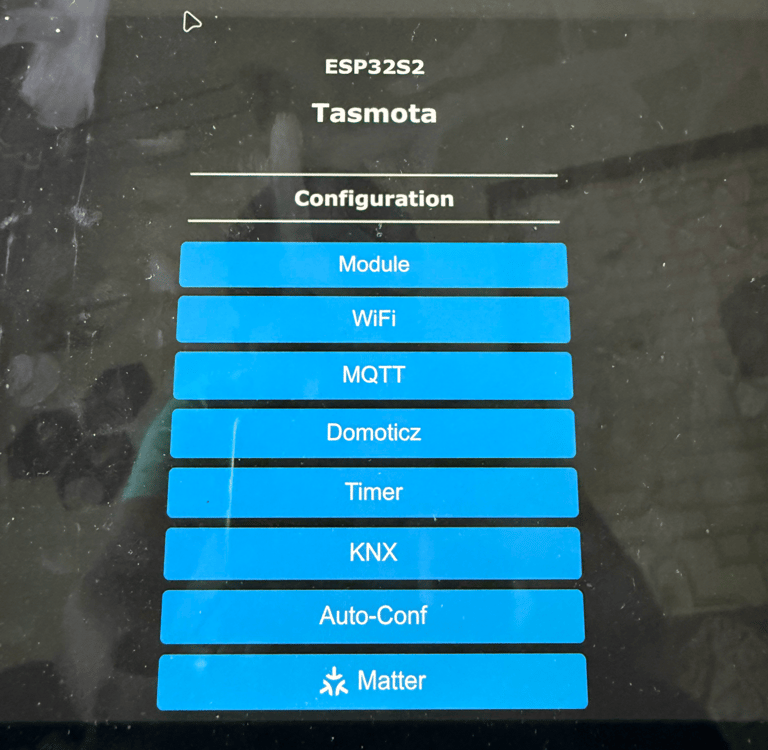
I stumbled upon Tasmota, a popular open-source firmware for ESP8266 and ESP32 boards, it lets you turn microcontrollers into fully programmable IoT devices with local control and no cloud dependency. I quickly located the ESP32 board and hooked it up via USB, entered flash mode and used the Tasmota Web Installer to flash the firmware. The whole process took less than three minutes.
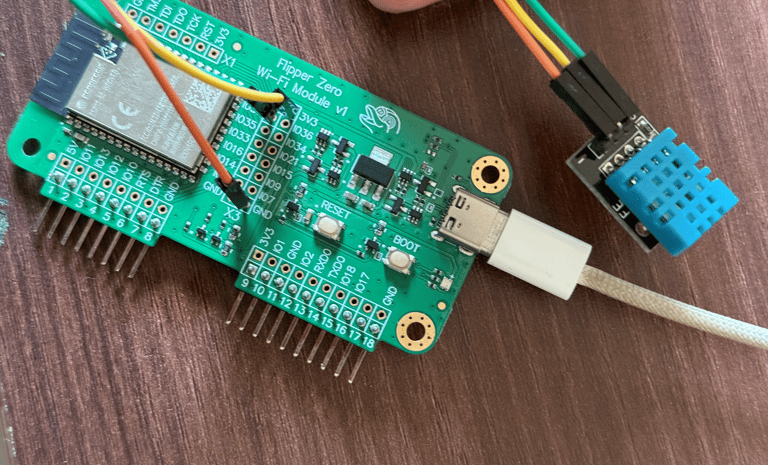
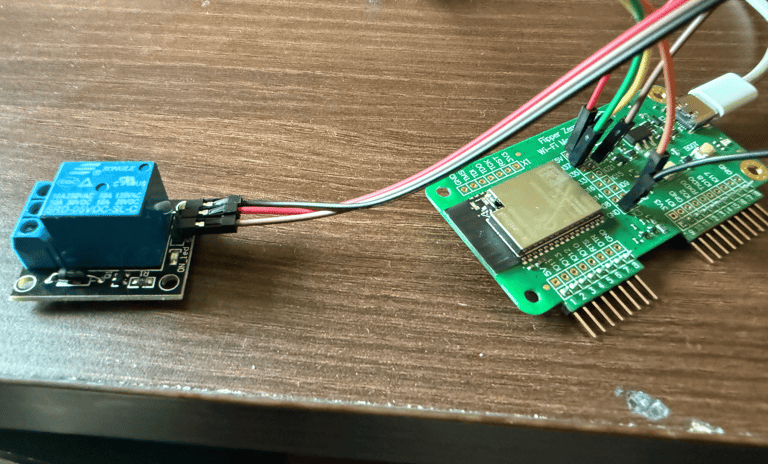
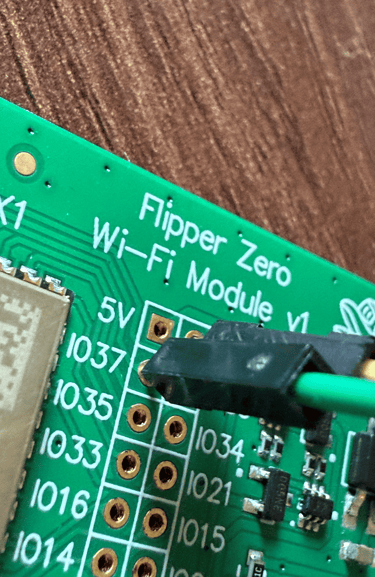
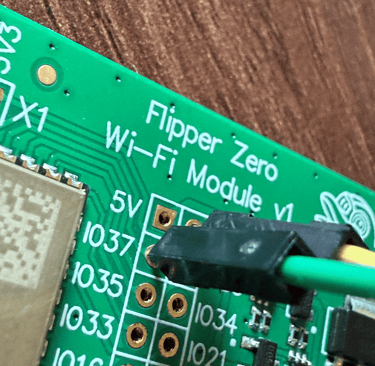
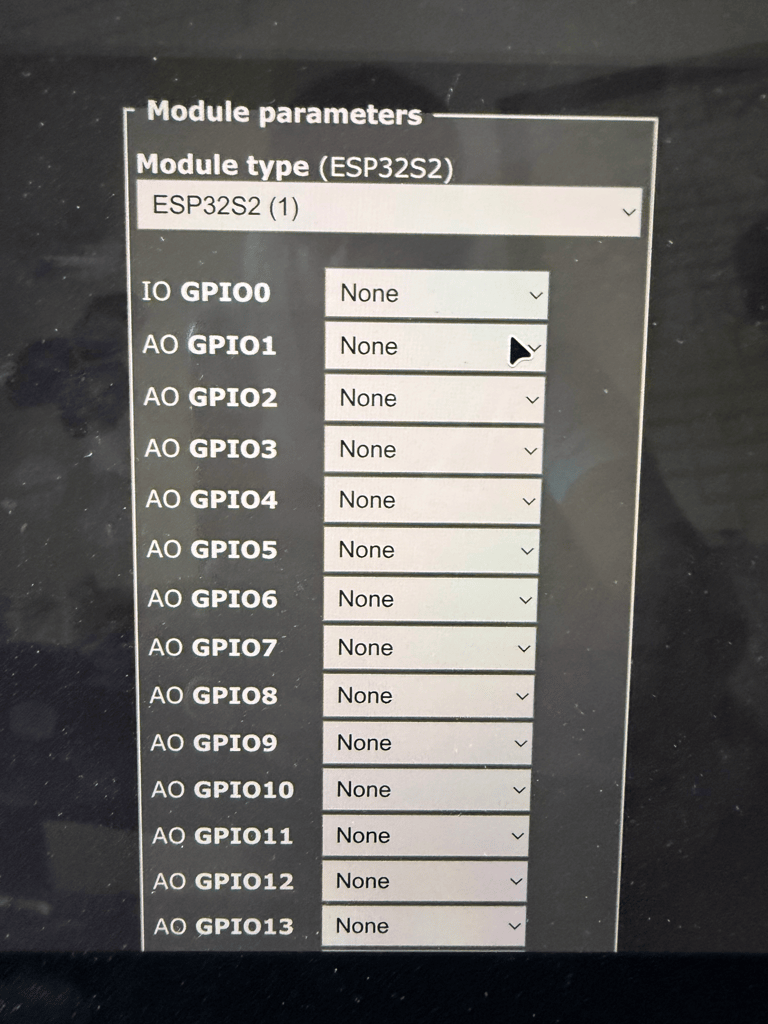
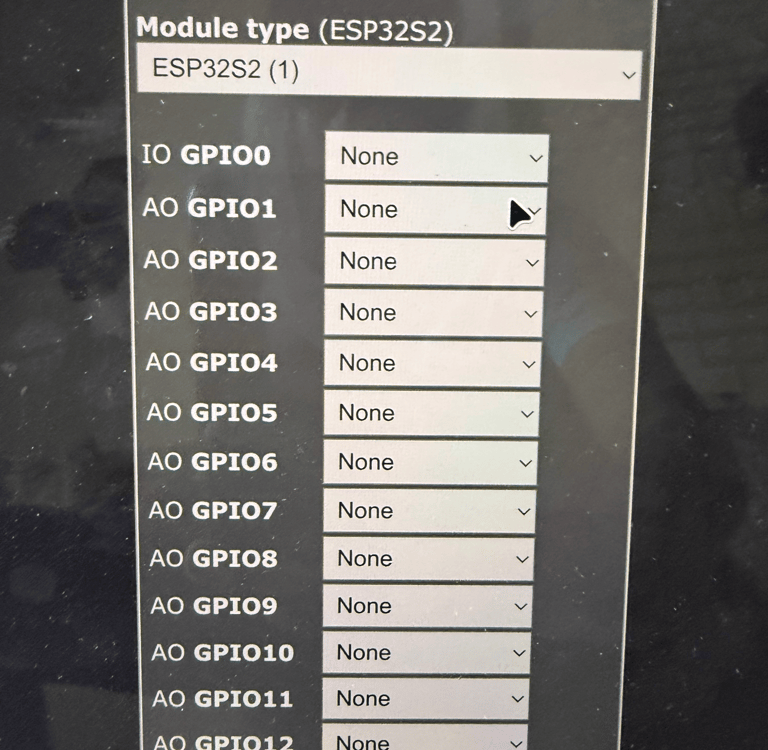
Now with Tasmota installed, I decided to test it using a DHT11 sensor (for temperature and humidity) and a relay module (for switching devices). I connected the DHT11 to 3.3V, GND, and GPIO 37 on the ESP32. Once the board connected to my local Wi-Fi network, I accessed its IP address and configured the GPIO settings directly from the Tasmota dashboard.
After a quick reboot, I had real-time temperature and humidity readings visible through a clean web interface and I also learned that the DHT11 can provide dew point data, which I wasn’t aware of. Next, I wired the relay module to 5V, GND, and GPIO 34. After tweaking the Tasmota settings again, I had full remote control over the relay, which could be used to switch any 220V appliance, with the proper isolation and safety, of course.


xSpace.Space - Yash Xavier's Digital Space
Explore my Journey
My Personal Pursuits
© 2026. All rights reserved.
Showcase of Endeavour
Projects & Achievements